Creating a Web Server
This section will cover setting up a web server using Docker.
Table of Contents
- Introduction
- Creating the Website
- Running the Docker Container
- Conclusion
Introduction
There are many ways to host a web server. Some methods include installing a web server like Nginx or Apache bare metal or using containers.
This section will be using the Nginx Docker container to host a simple website.
Creating the Website
Before hosting it, we will need some files. For a HTML site, all we need is a index.html file. The following can be its contents.
<html>
	<body>
		<h1>My self-hosted website!</h1>
	</body>
</html>
Once we have the file, we will also need a VM and Docker installed on it, which has been covered in previous sections.
Running the Docker Container
Once we have the prerequisites, we can use the Nginx Docker container to host our website.
https://hub.docker.com/_/nginx
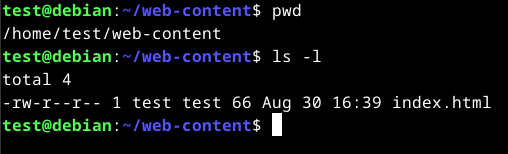
To use it, we will need to specify a directory where our index.html file can be found at. This example will be using /web-content as the directory within the user home directory.
/home/<username>/web-content
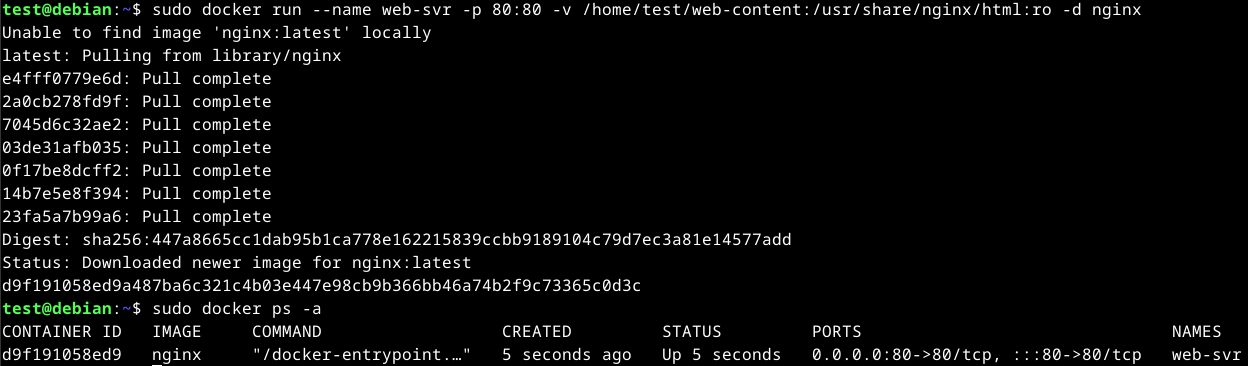
Once everything is in place, we can use the following command.
docker run --name web-svr -p 80:80 -v /home/<username>/web-content:/usr/share/nginx/html:ro -d nginx
Command breakdown:
run- Specify to run a container in Docker.--name web-svr- Specify the container name.-p 80:80- Map port 80 from the host to port 80 within the container.-v /home/<username>/web-content:/usr/share/nginx/html:ro- Specify the directory to read files from on the host and store it in the/usr/share/nginx/htmldirectory in the container.-d- Run the container detach mode.nginx- Specify the Docker image to use.
The command will allow us to navigate to our website that is running on port 80. Without mapping it with -p, the website will not be accessible from outside the host machine. We can change the host port to something else if we wish to use a different port.
An example:
-p 8080:80
The above flag will allow us to navigate to port 8080 to view the website.

Once the container has been successfully created, we can view it by navigating to http://localhost or http://127.0.0.1:<port> if 80 isn't the port used.
Accessing web-svr container from port 80:

Accessing web-svr2 container from port 8080:

Conclusion
There are many things that can be done with containers such as running whole services like hosting your own cloud server. This section only covers the basics of creating a container. In later sections, container management and orchestration will be covered.