Creating a Game Server
This section will cover on how to create a game server in PufferPanel.
Table of Contents
- Introduction
- Creating the Server
- Importing an Existing Server
Introduction
This section will cover how to create a Minecraft game server.
The following hardware specifications are recommended:
- 2 CPU Cores
- 4GB RAM
- 30 GB Storage
Creating the Server
To start, navigate to the "Servers" tab and click "Add Server".

Provide a server name. The "Host" environment if you want to install it bare metal and the "Docker" environment will run the server in Docker. This example will be using Docker.
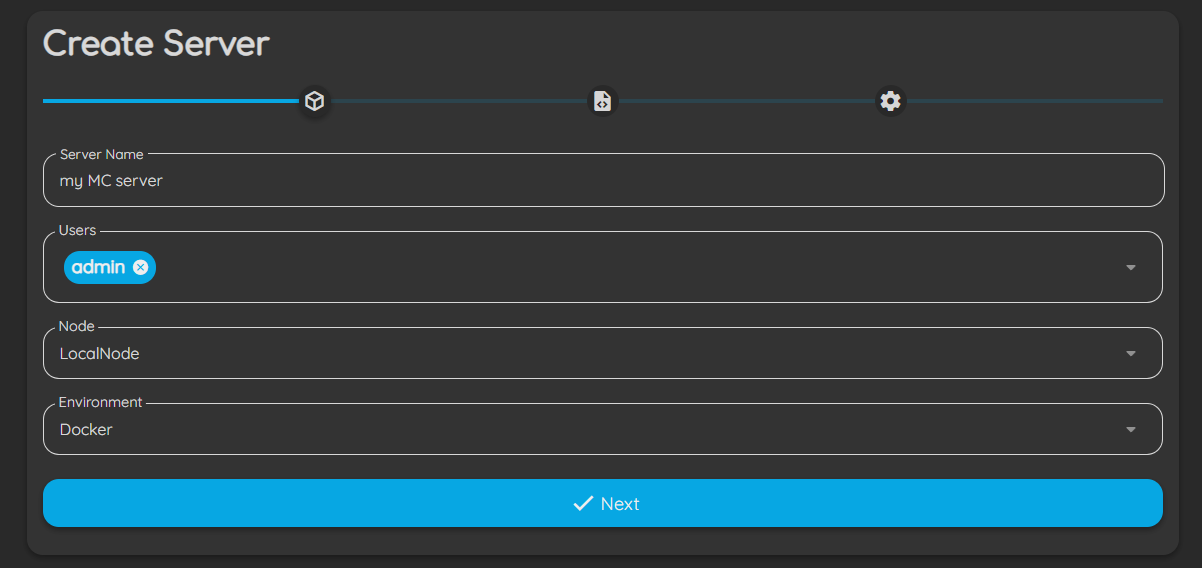
On the template section, choose the type of server you wish to create. This example will use "Minecraft: Java Edition".
Once the template has been selected, we can agree to the EULA, assign the server more/less RAM, change the port, or change the MOTD for the server.
To run the Minecraft server, we will need to agree to the EULA. We can choose to assign more RAM to the server or change the port that it will be running on. This example will use the default settings.
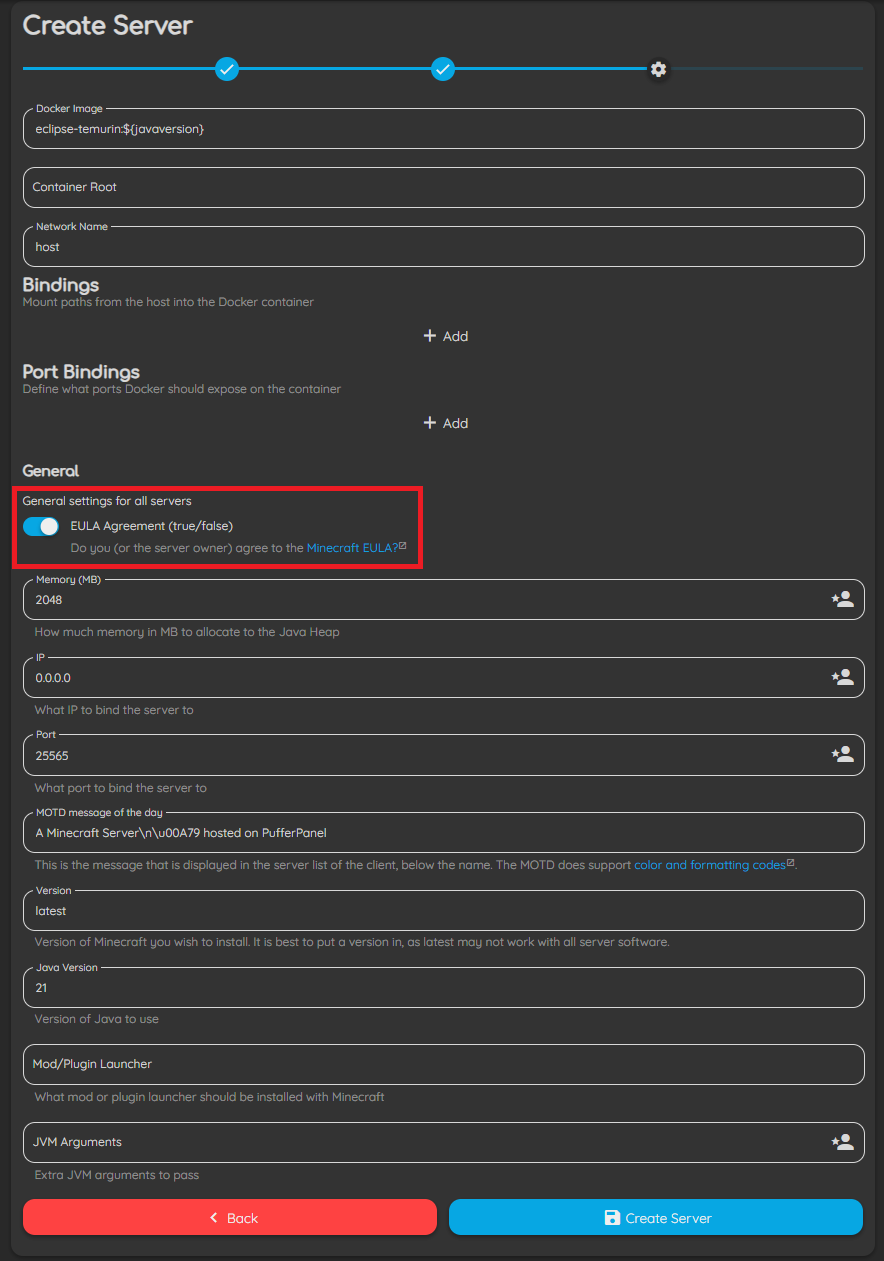
Once done, click "Create Server". The above settings can be changed after server creation. Once the server is created, it can be found in the "Servers" tab. Clicking into it allows us to access the server's console, view the statistics, files, change the settings and more.
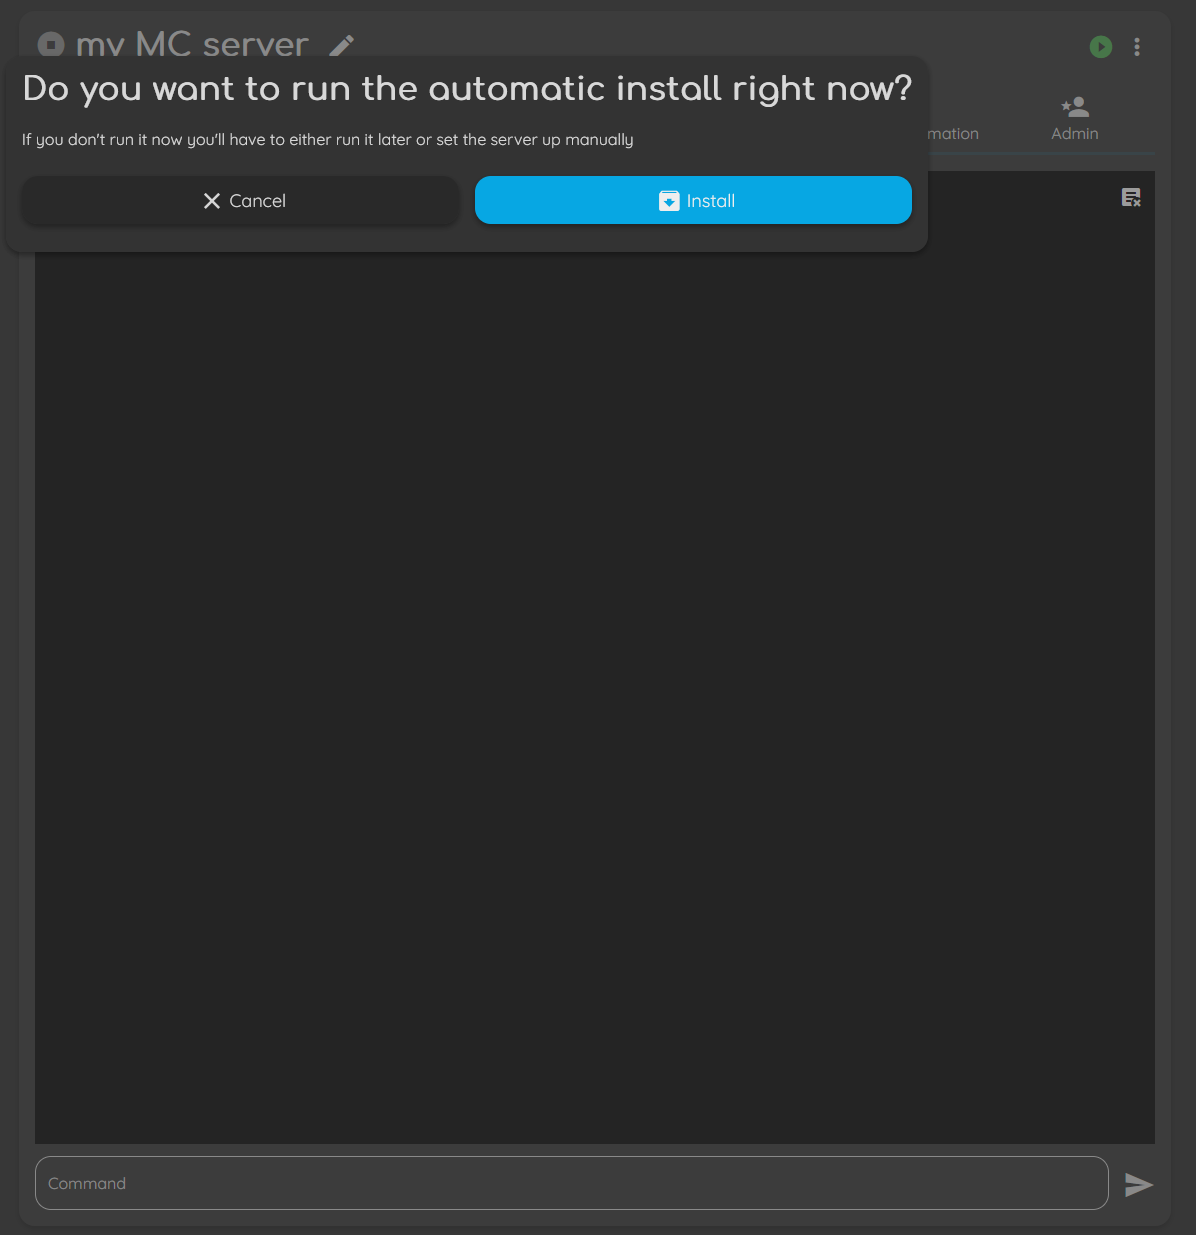
When starting the server for the first time, we will be prompted to run an automatic install. Click on the "Install" button and wait for the process to be done.
Once installed, we can start the server. Once successfully created and running, we can connect to it using Minecraft with the latest version and entering the server IP address under the "Multiplayer" section in Minecraft.
Importing an Existing Server
There are two ways outlined in the official documentation to import a server. This section will cover having direct access to the server that we wish to import to.
To start, ensure that we have a zip file of the files that we wish to transfer. If you are transferring from another PufferPanel host, navigate to /var/lib/pufferpanel/servers and zip the file that you wish to transfer to the new server.
On Linux, we can use the zip tool.
sudo zip -r <file_name>.zip <name_of_directory_to_zip>
Once done, we can transfer the file onto our machine by using tools such as scp.
scp <username>@<remote_IP>:/path/to/remote/file /path/to/save/dir/locally/
An example will be where our server has the IP address of 192.168.10.22 and we want to save the file to our home directory locally.
scp myuser@192.168.10.22:/var/lib/pufferpanel/servers/mc-svr.zip ~/
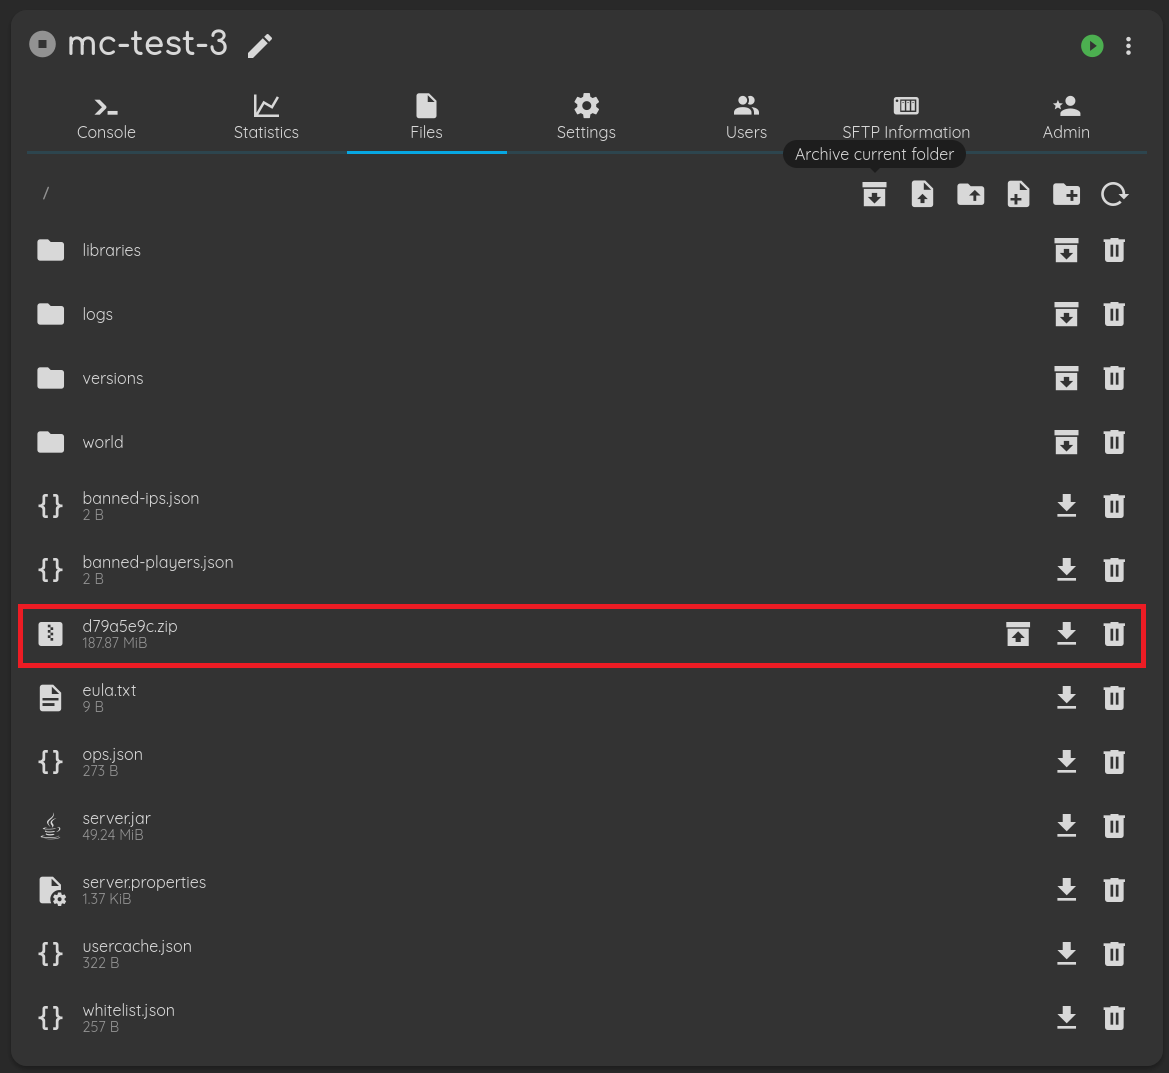
Alternatively, we can navigate to the "Servers" section and select the server we wish to export. Once selected, navigate to the "Files" tab and create an archive. Once created, download it.
Once we have the files exported, we can follow the "Creating the Server" process on the new host to create the server. Note that you should create the server with similar settings to the old one.
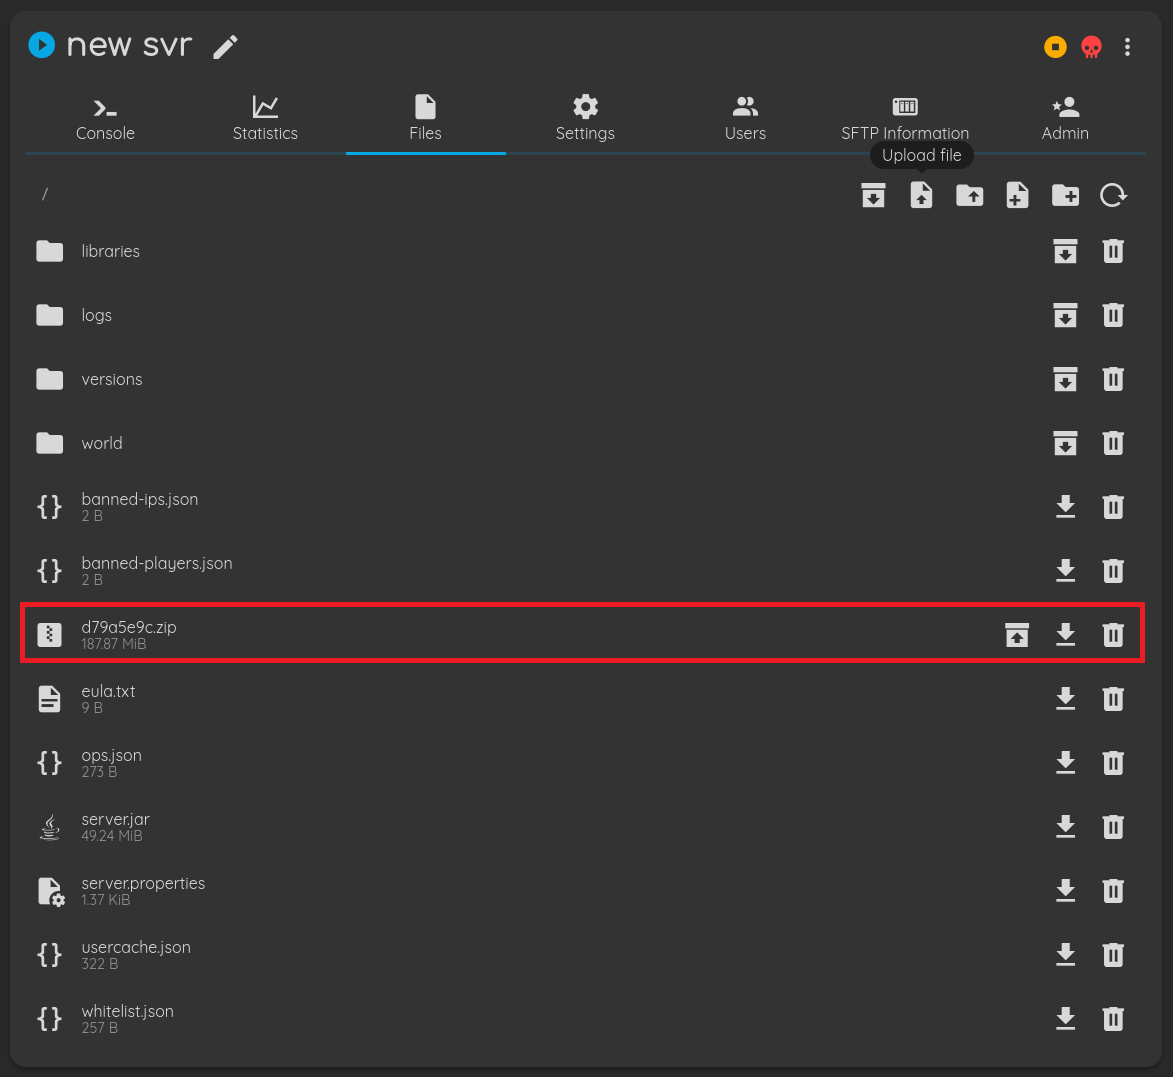
Once created, upload the zip file via the "Files" tab.
Once uploaded, SSH into the host and navigate to /var/lib/pufferpanel/servers/<id> to unzip and move the files and set the correct permissions using the following commands.
sudo unzip <file_name>.zip
cd <directory_name>
sudo mv * ..
sudo chown -R pufferpanel:pufferpanel /var/lib/pufferpanel
Once the permissions have been set, we can start the server normally and see that it has been successfully imported.