Setting Up a Reverse Proxy
This section will cover setting up a reverse proxy to safely expose services to the internet.
Table of Contents
- What is a Reverse Proxy
- Setting Up Nginx Proxy Manager
- Configuring Nginx Proxy Manager
- Configuring SSL/TLS Certificates
- Obtaining Cloudflare API Token
- Creating TLS Certificates
- Assigning TLS Certificates
What is a Reverse Proxy
A reverse proxy sits in front of servers and make requests on behalf of clients. It allows the mapping of different sub domains to ports, essentially allowing us to host multiple services on a single machine, on different ports. Depending on the reverse proxy, some can also be used to manage SSL certificates.
Some examples of reverse proxies are Nginx Proxy Manager, Traefik, and Caddy. This section will cover the basics of using Nginx Proxy Manager.
Before starting, a domain name is required. This section also requires basic knowledge on configuring DNS on your registrar's site.
Setting Up Nginx Proxy Manager
To setup Nginx Proxy Manager, we can use Docker Compose. Save the following stack to a file called compose.yaml.
services:
  nginx-proxy-manager:
    image: "jc21/nginx-proxy-manager:latest"
    restart: always
    ports:
      - 80:80
      - 81:81
      - 443:443
    volumes:
      - ./data:/data
      - ./letsencrypt:/etc/letsencrypt
    environment:
      DISABLE_IPV6: "true"
Breakdown:
80- HTTP81- Nginx Proxy Manger web UI443- HTTPS./data:/data- Used to store Nginx Proxy Manager data../letsencrypt:/etc/letsencrypt- Used to store LetsEncrypt certificates for HTTPS.DISABLE_IPV6: "true"- Disable IPv6. Can be removed if IPv6 is in use.
Save the configuration to a compose.yaml file and run the command sudo docker compose up -d to start it.
Once started, we can navigate to the web UI via http://<IP>:81. The default credentials are admin@example.com:changeme.
Configuring Nginx Proxy Manager
Once logged in, we can create a proxy host to the web UI by clicking "Proxy Hosts" on the dashboard or Hosts > Proxy Hosts.

Next, click on "Add Proxy Host" and enter a domain name that will be used to access the web UI. Note that a DNS entry pointing to the IP address of the server is required.
For the forwarded hostname, Nginx Proxy Manager allows us to use the name of the docker container if it is within the same stack. This example will be nginx-proxy-manager. If the name is different, change it accordingly. Set the forward port to port 81, the web UI port.
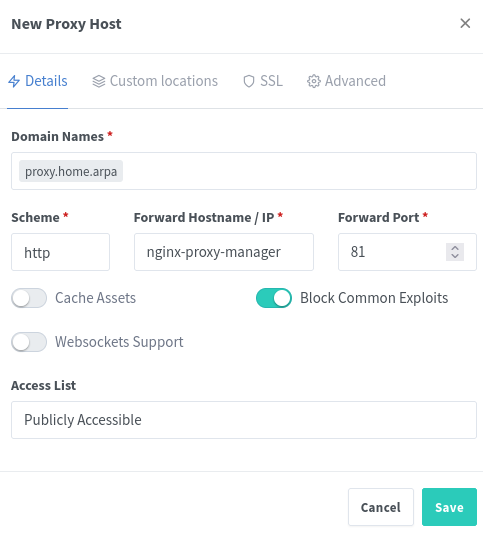
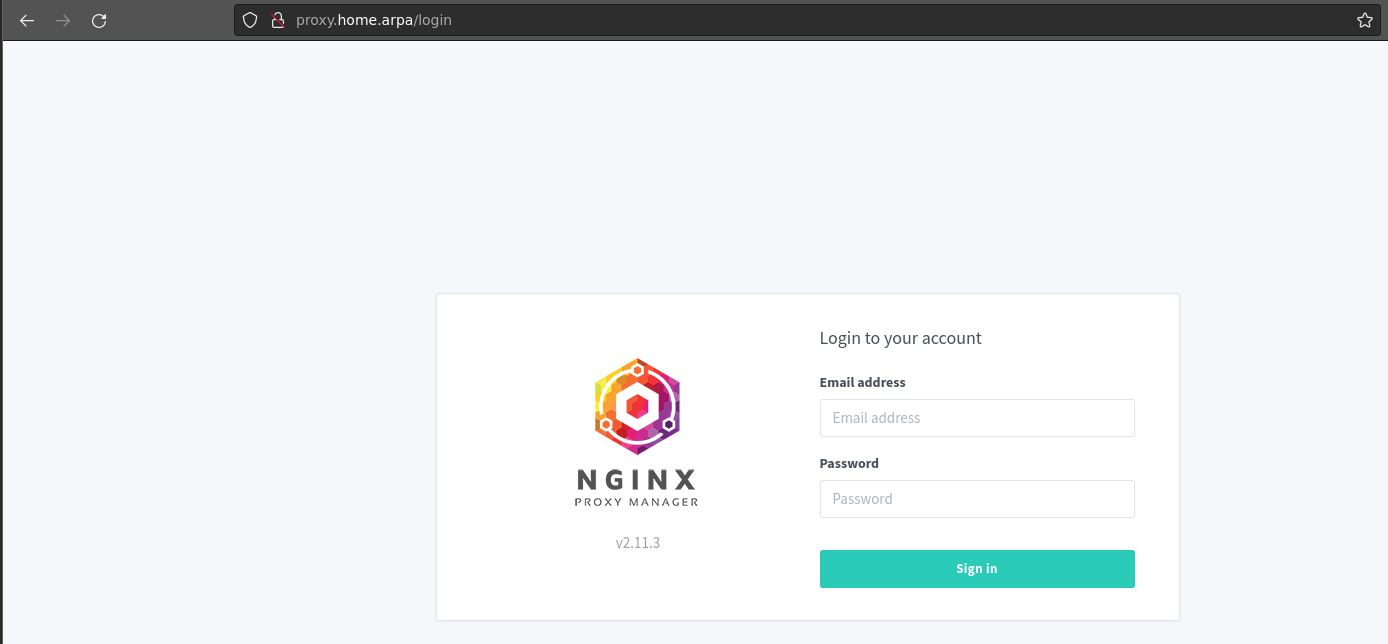
Once done, click "Save". Assuming the DNS configuration is done and set correctly, we can navigate to the specified domain to access the admin panel.
Configuring SSL/TLS Certificates
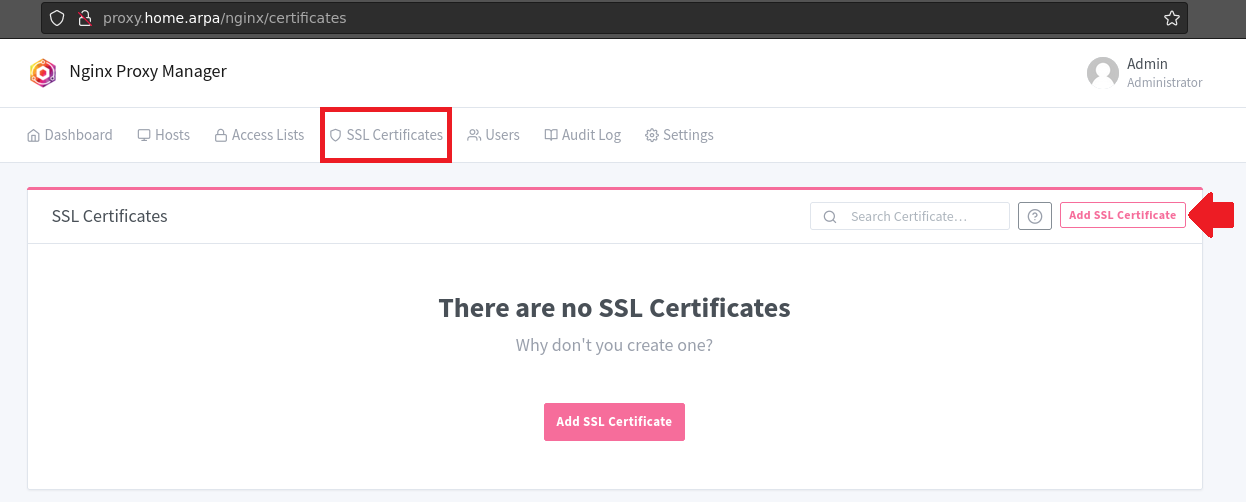
To configure SSL certificates, navigate to SSL Certificates > Add SSL Certificate.
Select the "Let's Encrypt" option. This example will be using a DNS Challenge with Cloudflare.
To start, enter the domain name that you want the certificate to be valid for. It is recommended to use a wild card certificate such as *.internal.example.com. This will allow any subdomains under internal.example.com to be valid and use HTTPS.
Obtaining Cloudflare API Token
We will need an API token with edit DNS permissions for the domain that we want to obtain an TLS certificate from.
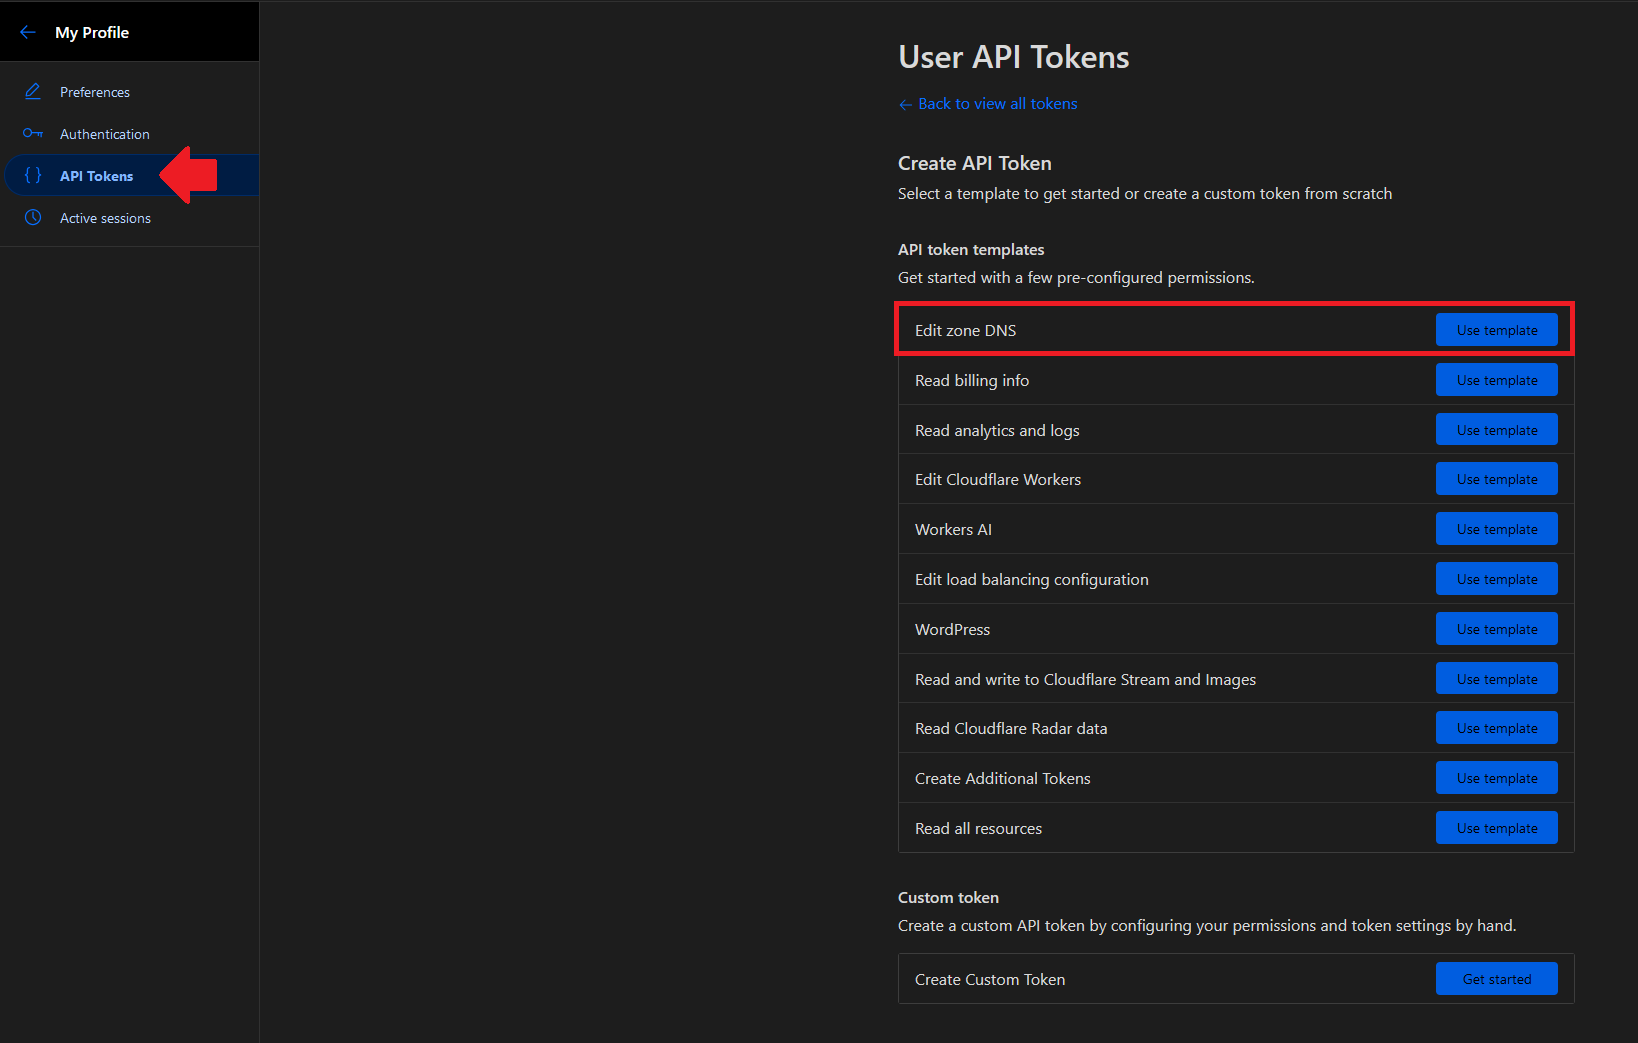
Navigate to profile > API tokens > Create API tokens to create the API token that is required. Alternatively, the following guide can be used.
https://developers.cloudflare.com/fundamentals/api/get-started/create-token/
When creating a new API token, we can use the "Edit zone DNS" template.
Creating TLS Certificates
Once all the required items are obtained, we can input them with the following settings in the SSL Certificates tab.

Once done, click the "Save" button.
Assigning TLS Certificates
To assign the certificate to a proxy host, edit the proxy host entry that you want to assign the certificate to. Navigate to the "SSL" tab and select the created certificate.
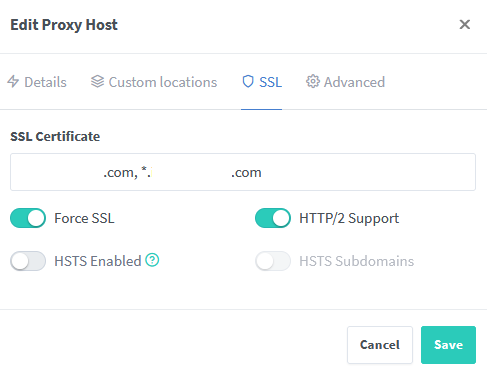
When configured correctly, the entry should look like the following.

When accessing the site, it should be secured with TLS certificates and no warning should appear.